Customizing the Graphic Template
Applies to: viflow (subscription | 9 | 8) | Article: 1588928 | Updated on 30.04.2024
{{gold}}This function is available in the gold edition of viflow available (not in viflow blue and silver ).{{end}}
This chapter describes how an individually designed graphic template is created on the basis of the standard graphic template. The following changes in the new graphic template are described:
- Insert a logo (which will be anchored for eventual page size changes)
- Customize the footer
Editing the Graphic Template
Copying and renaming the Graphic Template
- Open the Templates window via the Windows button in the View tab.
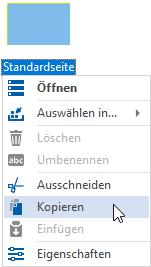
- Copy the Default Page template by right-clicking [
.png) ] click on the template and choose Copy from the context menu.
] click on the template and choose Copy from the context menu. Then click in the window and select Paste from the context menu.
Alternatively, you can also copy the graphic template within the window using the key combination [CTRL+C] + [CTRL+V].
The new graphic template Standard Page (1) is added in the Templates window. - Open the properties of the new template by selecting [
.png) ] Click Properties.
] Click Properties.
The properties window of the graphic template opens. Now give the new graphic template a new name.
 -
Open a Graphic Template
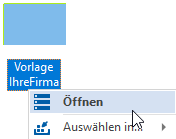
Right-click [.png) ] to the new graphic template and select Open from the context menu.
] to the new graphic template and select Open from the context menu. The graphic template is opened in the graphic window.
 -
Customizing the footer
Move the mouse pointer over the header/footer or click on an element in it until an info symbol is displayed..png) Click the info icon and choose which items to hide or show.
Click the info icon and choose which items to hide or show..png) Information on the individual elements in the footer can be found in the chapter ››› Customize headers and footers.
Information on the individual elements in the footer can be found in the chapter ››› Customize headers and footers. -
Inserting, placing and fixing the logo
With the graphic template open, click the Pictures button on the Insert tab and select the logo.
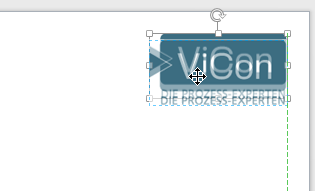
After clicking Open, the logo is placed in the middle of the drawing sheet. - Now place the logo exactly where you want it to appear in the graphics. To do this, use the left mouse button and, if necessary, the arrow keys on the keyboard.

- The logo should be fixed accordingly so that the logo always remains in the same position with the same margin distance – for example at the top right – if the size of the drawing sheet changes.
Highlight the logo and click the Anchor to Page button on the Graphic tab..png)
- Here – for example for placement at the top right – select the options Anchor to right and Anchor to top.
The logo now automatically maintains the same distance to the top and right edges even when the drawing sheet size is changed.